Krucial CONNECT Application
The Krucial CONNECT website application makes managing your K-Cell and LoRaWan devices straightforward. This guide will walk you through using the site and setting up your first Krucial CONNECT deployment.
Deployment
After logging in to the Krucial CONNECT platform, the first tab on the navigation menu will be Deployment. Here, all active deployments can be seen for your organisation.
Creating a Deployment
To create a deployment click the Create Deployment button, as shown in the image below:

A new page will appear with a form to enter the name for your deployment and whether the deployments' data is to be stored on Krucial Servers (See more on this here).

Once you have given your deployment a name click Next.
Next, Select the K-Cell that the deployment is to use from the table and click Next.

Lastly, if the deployment is to use a plugin select the corresponding one from the table or use the Create Plugin button to add a new plugin.

Once all the required data has been entered, click Save.
After saving the deployment, a notification will be shown stating: "Deployment created" and the deployment should be shown in the table.

Storing Data on Krucial Servers
Data can be stored on Krucials' servers within a deployment. All device data will be decoded and stored. Data can be found within the deployment management screen under the devices/data tab. This can be seen below:

Alternatively, device data can be viewed on the device details page. Click on any device within the deployment and navigate to the data tab. Here you will see all the data for that device. This can be seen below:

Viewing a Deployment
For each deployment, you have the ability to view their assigned K-Cell, devices, and plugins.
To view a deployment click the desired row on the table.
A new page will load with three tabs "K-Cell", "Devices" & "Plugins". The page loads the "Devices" tab by default.
Deployment Devices
This page contains two tabs. "Details" & "Data". The details tab contains a list of all devices assigned to the deployment. The "Data" tab contains all the data for each device on the deployment.
Within the "Details" tab, devices can be added to the deployment by clicking the Add Device to Deployment button.

From here, any device not assigned to a deployment can found. A plus button will be present in the deployment name column. As seen below:

Clicking this button will add the device to the deployment and remove it from this table.
Device Details
Further details about a device can be seen by clicking on the desired row in the table within the "Details" tab. This will load a new page with the details as shown below:

Within this page, the device profile for the device can be edited by clicking ![]() ,
any device data for the device can be viewed by selecting "data" from the tabs, and commands can be sent to the device by selecting "send"
from the tabs.
,
any device data for the device can be viewed by selecting "data" from the tabs, and commands can be sent to the device by selecting "send"
from the tabs.
Deployment K-Cell
Here all the K-Cell details can be found. There are five tabs you can view - Status, Housekeeping, Queue, Configuration, and Operations.
-
Status will display the most recent updates from your K-Cell, such as it's charging status and the last time it sent a transmission.
-
Housekeeping allows you to view your K-Cell's battery voltage and charging status over time - you can filter the results by date in order to narrow down your search.
-
Queue shows actions that have been requested from your gateway, for example, enabling the WiFi on your K-Cell.
-
Configuration allows you to edit the Wi-Fi, message timings, and message requests to and from your K-Cell. Before enabling the Wi-Fi option on the K-Cell, you must set the SSID and a password by selecting the Set button under Wi-Fi, as shown below:
-
Operations allows you to replace your current K-Cell with another in the circumstance that you would require a different K-Cell to act as your gateway. It allows your devices to eventually change over to a new K-Cell without having to manually do it yourself.
Deployment Plugins
Here, all the plugins associated with the deployment can be found. They will be shown with their name and unique config for that deployment.
If the plugin is MQTT, users can be managed by clicking on the row of MQTT configuration for the deployment. See here
Devices
The second tab on the navigation menu is labelled Devices. Here, you can view all devices that have been added to your organisation.
You can see their unique IDs (DevEUI), the name assigned to the device (Device Name), the device profile assigned to the device (Device Profile Name) and the deployment (Deployment Name) that the device belongs to.

If a device is not assigned to a deployment you will see a plus button in place of the deployment name. As shown below:

This button will allow the device to be added to a deployment. When clicked, a window will appear with the available deployments in a dropdown. Select one and click Save.

Your device should now contain the deployment name in the column.
Creating a Device
In order to create a device, the Krucial CONNECT CLI commands can be used (instructions on how to set this up can be found here) or by selecting the Create Device button located here:

A new page will load with a form, firstly enter the device DevEUI and give the device a name. This can be seen below:

Optionally, a latitude and longitude can be added. Once all the required fields have been populated click Next.
Next, select a device profile for the device from the table or create a new device profile by clicking the Create Device Profile button shown here:

Once a device profile has been selected. Depending on the activation mode an AppKey or AppSkey & NwkSKey are required to be filled out.
Once all of the above has been entered click Next.
Lastly, any device tags can be given to the device at this stage. Once completed, click Save.
The new device should be shown in the table below:

Deleting a Device
To remove a device from your organisation, simply press the bin button located Next to the Device name under Operations as shown below:

A confirmation window will show up to ensure this is the device you want to delete. To continue, press Delete.

A notification will appear at the top of your screen saying the device has been deleted and will no longer appear in your devices list as seen below:

Webhooks
The third tab on the navigation menu is labelled Webhooks. Here, you can add, delete, and view webhooks on your organisation. A webhook can send automated messages from one application to another in real-time.
If you chose to store data on Krucial servers when setting up your deployment initially, there will already be a webhook showing that the data has been stored internally.
Creating a Webhook
To create a webhook, press the Create Webhook button located at the top right of your screen in the Webhook tab:

A new page will load with a form asking you to enter a webhook name for identification, the destination url for the webhook and an optional tick box for hmac authentication. (This is a method of encoding your data for extra security).

Once all the required data has been entered, click Next.
Select a deployment from the table or create one by clicking the Create Deployment button shown below:

Once a deployment has been selected, click Save.
A notification will show confirming the webhook creation and the new webhook should be shown in the table.

If you want to view more details of a given Webhook, simply click on the name of a specified webhook or the ![]() button under the Operations column to view any data or responses sent from it.
button under the Operations column to view any data or responses sent from it.
Deleting a Webhook
To delete your webhook, click on bin icon under the Operations column.

A confirmation window will appear - press Delete to confirm the removal of your webhook.

Device Profiles
The fourth tab on the navigation menu is labelled Device Profiles. Here, you can edit, add and delete Gateways (also known as K-Cells) on your deployments or organisation.
A Device Profile allows you to configure the way a device sends data.
You will see two existing Device profiles - Krucial OTAA Default and Krucial ABP Default. These are the two different activation methods for LoRaWan devices.
Creating a Device Profile
To create a new device profile, click the Create Device Profile button in the top right of the window.

A new page will appear with two tabs labelled "Manual-entry" & "Upload-a-file". The page defaults to "Manual-entry". However, to upload a device profile from a file, select the tab corresponding to this action.
- Upload a file - with this method, you can use an existing file to quickly create a device profile. The form should prompt you to enter an easily identifiable Device Profile Name, a JSON or YAML file containing details of your device profile, and a JavaScript file containing your payload codec for the device profile:

Click Save to confirm your changes. A notification will show confirming the device profile creation and the new device profile should be shown in the table.

- Manual entry - with this method, you can manually enter the device profile details into the form. You will be prompted to enter several mandatory fields to fit to your needs, as shown below:

After filling in the fields, click Save. A notification will show confirming the device profile creation and the new device profile should be shown in the table.

Editing a Device Profile
To edit a device profile, select the ![]() button under the Operations column in the Device Profiles tab. You will have the option to view the existing details attached to the profile under the Details tab, or edit them under the Edit tab.
button under the Operations column in the Device Profiles tab. You will have the option to view the existing details attached to the profile under the Details tab, or edit them under the Edit tab.
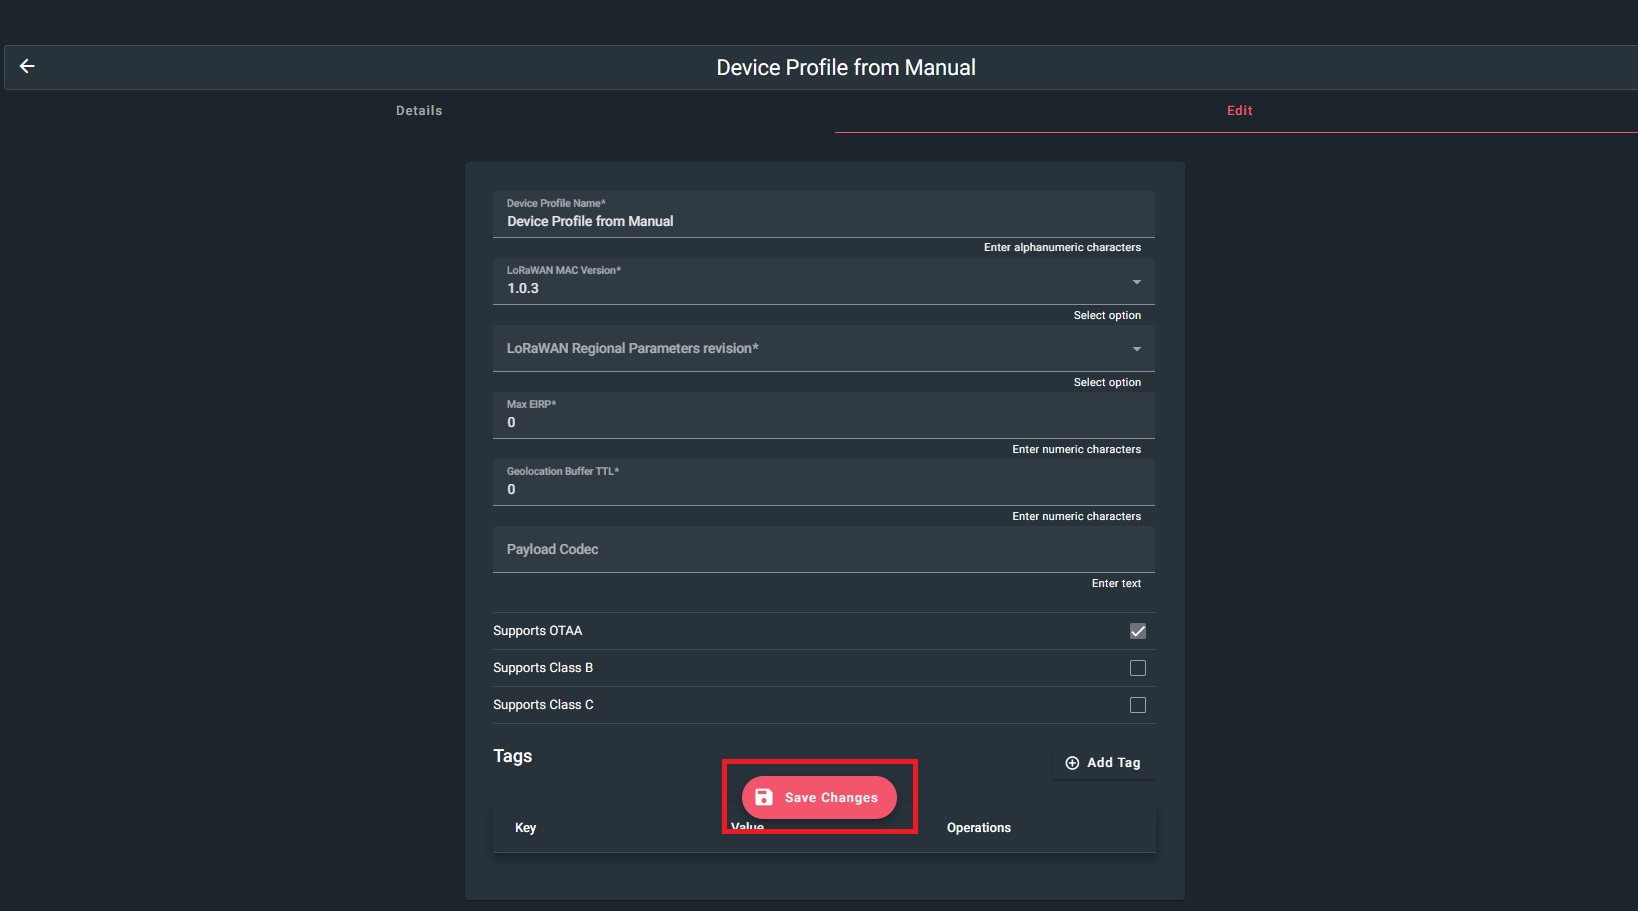
To confirm an edit, press Save Changes, located at the bottom of the page.
Sync a Device Profile to a K-Cell
When device profiles are created, they are not automatically synced (added) to the K-Cell until they are used on a device or manually synced.
To sync a device profile to a K-Cell, click the button as seen here:

This will open a dialog, select your K-Cell and click Sync

A notification will show confirming the device profile has been synced to the K-Cell. To verify the device profile has been successfully synced, the deployment queue screen can be used to check the queued packet.

Deleting a Device Profile
Deleting Device Profile from a K-Cell
This option only removes the device profile from a K-Cell it was initially set up as attached to.

This will open a dialog, select your K-Cell and click delete:

A notification will show confirming the device profile has been deleted from the K-Cell.

Deleting Device Profile from your Organisation
This option completely removes a device profile from your organisation, so it is permanently deleted. This can be done by pressing the  button under Operations. This action can only be completed if it has been removed from any gateway it was previously attached to, so please refer to the option above first.

After pressing the icon, click Delete to confirm your choice.

You should receive a notification at the top of the screen showing the Device Profile as deleted. You should no longer be able to see that Device Profile as an option underneath.

API Keys
The fifth tab on the navigation menu is labelled API Keys. Here, you can create and delete different API keys to control who and what can access the API (Application Programming Interface). This is where you can access your CLient ID and Client Secret for setting up your Connect CLI environment.
Add Key
To create a new API key, press the Create API Key button located on the top right of the page under the API Keys tab, as shown below:

A new page will load with a form, prompting you to enter an easily identifiable name for your new API Key. Ensure there are no spaces in the name and click Save.

A notification will show confirming the api key creation and the new api key should be shown in the table.

Fetch Secret and Generate JWT
To fetch a secret for your API Key, click the fetch secret button shown in the client secret column of the table.

To generate a JWT (JSON Web Token) from your API Key, click the JWT button shown in the operations column of the table.

Delete Key
To delete an API Key, simply press the ![]() button under Operations.
button under Operations.

Press Delete to confirm your choice, a message should appear showing the api key as deleted.

Please note that if the client ID and client secret were used to set up your Connect CLI environment, it will stop working and you will have to set it up again with a different API key.
Plugins
The last tab on the navigation menu is labelled Plugins. Here, you can add, delete, or edit various plugins that you decide to add to your deployments. Plugins are additional features or functions to add on to a software application.
Create a Plugin
To create a plugin, press the Create Plugin button located on the top right of the page under the Plugins tab, as shown here:

A page will load with a form, firstly enter an easily identifiable name for the plugin.

Next, select the plugin type from the dropdown. Currently, there are only two options:
Once a type has been selected. Please fill in the required fields that are shown. An example for each plugin type can be seen below:


Once all the required data is populated, click the Save button. A notification will show confirming the plugin creation and the new plugin should be shown in the table.

Delete a Plugin
To delete a plugin from your organisation, press the ![]() button under Operations in the Plugins tab.
button under Operations in the Plugins tab.

To confirm the action, press Delete.

A notification should appear at the top of the page confirming the Plugin has been deleted.
